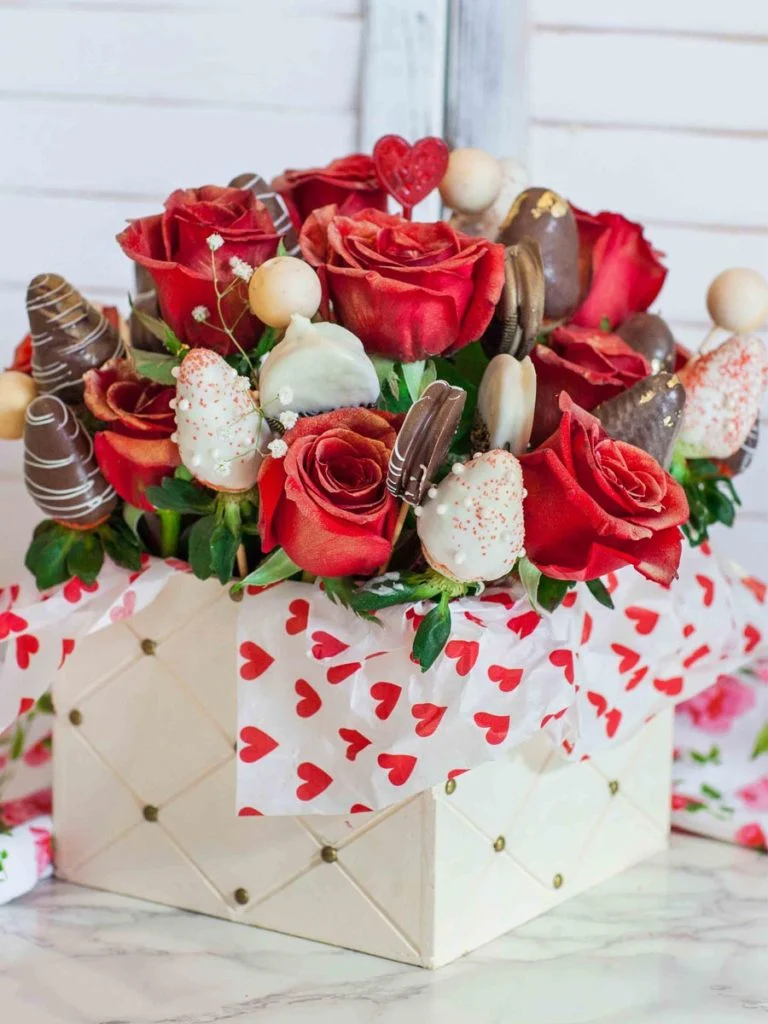
How to Make Strawberry Roses (and other fun arrangements!)

If you’re looking for the perfect decoration or garnish idea, why not try a strawberry rose?
With just a few small tips and tricks, you can learn how to carve a simple strawberry into a beautiful rose. It’s so easy to do, anyone can try it! Once you’ve made a couple of strawberry roses you can use them to garnish cupcakes, cakes, pancakes and more.
Looking for the perfect decoration for Valentine’s Day? Strawberry roses make a romantic addition to any baked good and, best of all, they’re cheap and easy to make too!
Enjoy our step-by-step guide to making strawberry roses. Follow these simple tips and tricks and you’ll be making beautiful strawberry roses in no time!
How to Save on Edible Arrangements
While making your own strawberry roses and other edible arrangements is fun and easy, you might not always have the time before a special event or big party. If you’re running short on time, consider buying a premade arrangement.
Companies like Edible Arrangements make fun arrangements from fresh fruit. You can find arrangements for all occasions including birthdays, anniversaries or even weddings.
By shopping with an Edible Arrangements coupon, you can even save up to 20% on your next purchase! If you ever find yourself running out of time to make your own arrangement, you can rely on Edible Arrangements to make a lovely fresh fruit arrangement for you.
Here are 3 reasons why strawberry roses are so fantastic!
- They are SO easy to make! All you need is a small knife and you make a beautiful strawberry rose in under a minute.
- It’s an easy way to spice up all your baked goods. Try adding strawberry roses to cupcakes, cakes, pancakes or dip them in chocolate or whipped cream.
- They are so pretty! You’ll be amazed at how much they actually look like roses.
How to Make Strawberry Roses Step-by-Step
Ingredients Needed:
- Large strawberries. The larger the strawberry, the easier it is to make the design.
- A wooden skewer to hold the strawberry
- Paring knife
Instructions:
- Insert the skewer into the bottom of each strawberry. In this case, the bottom is where the leaves are. Don’t mix this up as it will result in uneven roses.
- Work from the pointed end of the strawberry and have it facing upwards. You are now ready to start carving!
- Starting at the bottom, make a tiny slit but be sure not to cut all the way through the strawberry.
- Use your paring knife to very gently curl the tip of what will soon be each petal by pressing it back.
- You have just made your first petal!
- Repeat on every other side of the strawberry until you have four petals at the base of the strawberry.
- Now you need to make another row.
- Start directly below the row you just made. Line up your knife between two petals and make another slit.
- Curl each new petal back gently.
- Repeat on the other sides of the strawberry. You should have 4 new petals now.
- Make a slit down the tip and press back gently to curl the tips.
- Your rose is now complete!
That’s all it takes to make your very own strawberry roses. Now you can add them as an extra decoration to all sorts of baked goods including cupcakes, cakes, cookies and pancakes.
You can also add them to a DIY edible arrangement and wow your friends! Just remember that once cut strawberry roses won’t last more than a couple of days. Always make sure you refrigerate them to keep them fresh.


