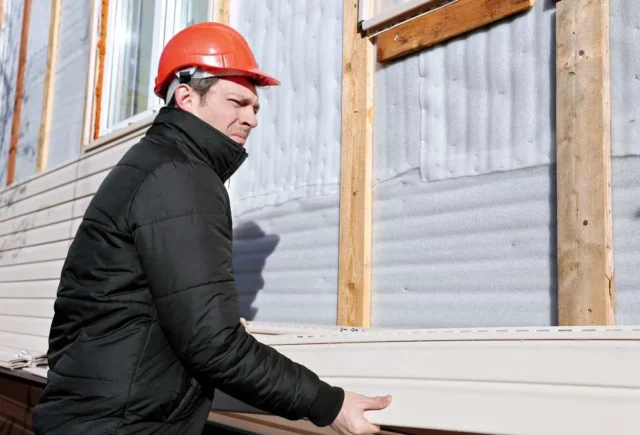
Home improvementUnveiling the Hidden Costs of Ignoring Siding Repairs in Wisconsin Weather salman May 14, 2025 0
Home improvementEnhancing Home Comfort: How Window Replacement Can Improve Airflow and Cut Cooling Costs salman May 14, 2025 0
HealthHow Prescription Assistance Programs Are Changing Lives One Patient at a Time salman May 14, 2025 0
HealthThe Power of Personal Branding: Establishing Authority and Trust as a Med Spa Leader salman March 29, 2025 0
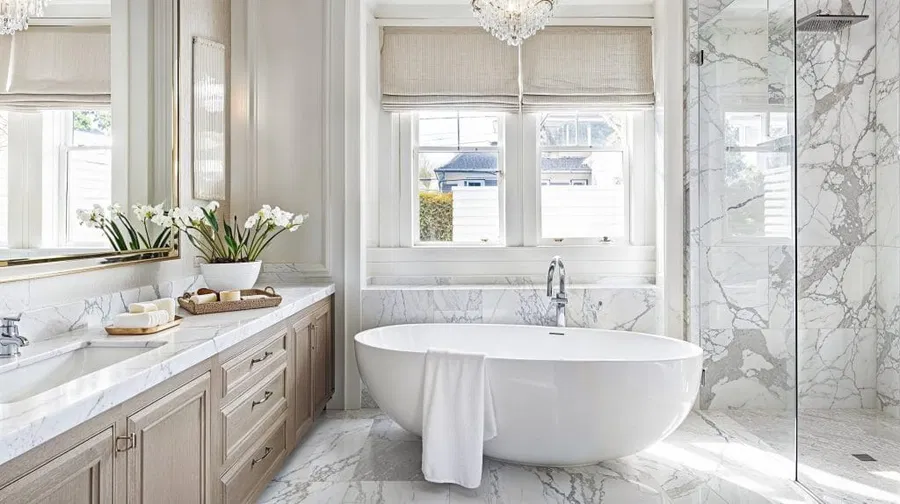
Home improvementWhat Are the Cost-Saving Tips for Bathroom Renovations Without Overspending? salman March 21, 2025 0